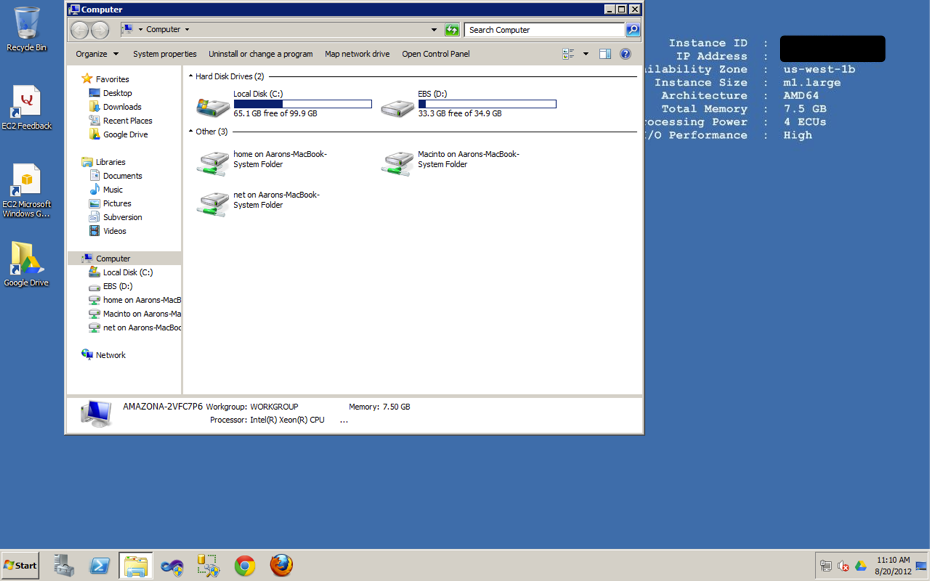
When you set up a new instance in the cloud on Amazon’s EC2 service, if you use the standard snapshots for Windows 2008 R2 hosting with SQL Server, you will find that your C: drive is much smaller than you expected it to be. Basically, you’re maxed out at capacity as soon as you upgrade Visual Studio. A few times a day you’ll receive notifications in the system tray about how the drive is running out of disk space. My first attempt to solve this problem involved attaching an EBS volume as a D: drive, and using that for all of my downloads and SVN working copies. But even when I tried to uninstall some of the default applications (e.g. the C++ 2008 runtime, which I have no use for), I found that it didn’t keep the drive from filling up. So I decided it was time to take a snapshot of the current state of my machine and see what I could do to grow that volume.
Fortunately, Sean Sullivan has published an easy-to-follow outline of the steps…
Update: I happened to need to perform these steps again for a client, and the link above was not working. Basically you have to make a snapshot of the volume attached to your instance and use that to seed a new volume with a higher allocation, but then when you attach the new volume, the system still thinks it’s smaller so you have to extend it. Here are the steps:
- Select your instance, go to the description tab and click on the volume link. It will tell you the volume ID.
- Stop your instance.
- Go find the volume in the Volumes tab and create a new snapshot, with a memorable name. (Pick something specific for the description. The drop-down where you will select this later will only show you the ID and description–not the name.) It will take a while. Use the refresh button in the Amazon web console to check your progress.
- Using the snapshot as the seed, create a new volume with a bigger size in the same availability zone as your instance. I think the actual volume size portion of the EC2 hosting fees is tiny, around $1/mo. for 10GB with 100% uptime.
- Select the original volume and detach it from your instance
- Attach your new larger volume to your instance as
/dev/sda1(in the field where it saysxvdf) - Start your instance back up and RDP into it, then and go into Disk Management to extend your C: drive to its full capacity. (Remember to re-assign your Elastic IP if you are using one.)

And now I have a 100-GB C: drive on my cloud development machine!
